

Learn how to install a sink drain pipe with this complete DIY guide for San Antonio homeowners. Step-by-step instructions, tools needed, and expert tips to avoid leaks.
A slow draining sink or persistent leak under your bathroom vanity can turn everyday tasks into frustrating ordeals. Learning to install a sink drain pipe yourself not only saves you the cost of a service call but also builds valuable home maintenance skills that serve you for years. This guide walks San Antonio homeowners through every step of the process, from gathering materials to testing your finished installation, so you can tackle this project with confidence and avoid common pitfalls that lead to leaks or poor drainage.
Table of Contents
- Key takeaways
- Gathering tools and materials
- Step-by-step installation process
- Common mistakes and troubleshooting tips
- Testing the installation and maintenance advice
- Professional plumbing services in San Antonio
- Frequently asked questions
Key Takeaways
| Point | Details |
|---|---|
| Tools and materials | Assemble the correct tools and materials before starting to prevent mid project trips and ensure proper fit. |
| Local supply sources | Buy from a local plumbing supply store when possible for compatibility and expert guidance on San Antonio water conditions. |
| Step by step process | Follow a systematic sequence from turning off the water supply to testing the completed drain for leaks. |
| Common mistakes | Avoid loose connections, incorrect washer placement, and misaligned traps to prevent leaks and poor drainage. |
| Testing for leaks | Run water through the system and inspect all joints for leaks and proper flow before finishing the installation. |
Gathering tools and materials
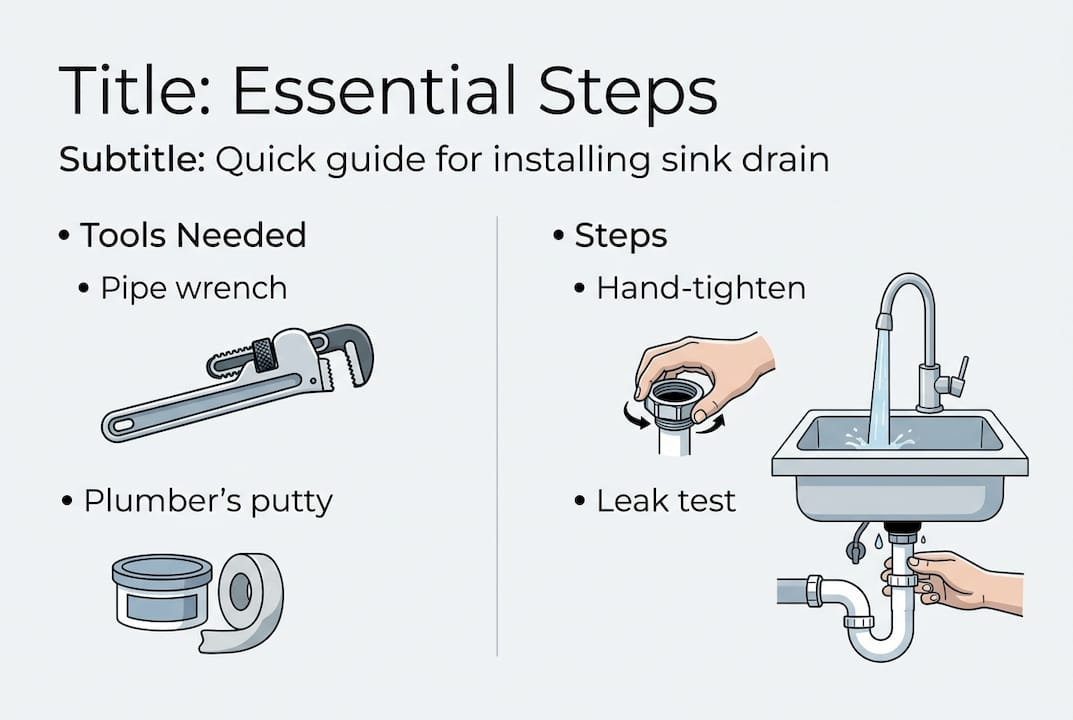
Before you begin any plumbing system, assembling the right tools and materials prevents mid-installation trips to the hardware store and ensures a smoother workflow. Proper preparation with the right tools is essential to successful sink drain installation. You’ll need a pipe wrench for tightening connections, plumber’s putty to seal the drain basket, and a pipe cutter if you need to trim PVC pipes to fit your specific sink configuration. Keep a bucket handy to catch residual water when disconnecting old pipes.
Your materials list should include PVC pipes sized to match your drain assembly, a complete drain assembly kit with tailpiece and trap, slip joint nuts and washers for secure connections, and Teflon tape to prevent thread leaks. Most San Antonio hardware stores stock these items, and buying locally ensures you can quickly exchange parts if measurements are slightly off. Quality materials cost more upfront but save you from premature failures and repeat installations.
Pro Tip: Purchase materials from a local plumbing supply store rather than big-box retailers when possible. Staff at specialty shops can verify compatibility between parts and offer advice specific to San Antonio’s water conditions, which can affect material choices for long-term durability.
| Tool/Material | Purpose | Approximate Cost |
|---|---|---|
| Pipe wrench | Tightening slip joint connections | $15 to $25 |
| Plumber’s putty | Sealing drain basket to sink | $5 to $8 |
| Pipe cutter | Trimming PVC pipes to correct length | $12 to $20 |
| Drain assembly kit | Complete tailpiece, trap, and fittings | $20 to $40 |
| Teflon tape | Preventing thread leaks | $3 to $5 |
| Bucket | Catching residual water | $8 to $12 |
Having these items organized on a towel near your workspace keeps everything within reach and protects your floor from scratches. Double-check that your drain assembly kit includes all necessary washers and gaskets, as missing a single rubber washer can cause persistent leaks that undermine your entire installation effort.
Step-by-step installation process
With your materials ready, you can begin the actual installation following a systematic approach that minimizes errors. Following a systematic installation procedure helps avoid leaks and ensures proper drainage. Start by turning off the water supply valves under the sink, then open the faucet to release any remaining pressure in the lines. Clear out the cabinet space beneath the sink so you have room to work comfortably and can see all connections clearly.
- Remove the old drain pipe by loosening slip joint nuts with your pipe wrench, working from the lowest connection upward toward the sink. Place your bucket directly under each connection before loosening to catch water that drains from the trap. Inspect the old pipes for corrosion or damage patterns that might indicate underlying issues you should address before installing new components.
- Assemble the shower drain basket by rolling plumber’s putty into a rope about half an inch thick and pressing it around the underside of the drain flange. Insert the drain basket into the sink hole from above, then thread the locknut and rubber gasket onto the tailpiece from below. Hand-tighten the locknut first to ensure proper alignment before using your wrench.
- Attach the tailpiece to the drain basket, ensuring the slip joint washer sits correctly inside the slip nut with the tapered side facing the tailpiece threads. Connect the P-trap to the tailpiece, then attach the trap arm to the wall stub-out. Each connection should be hand-tightened first to check alignment and prevent cross-threading.
- Align the entire drain assembly so water flows smoothly downward with a slight slope toward the wall drain. The P-trap should sit level or slope slightly toward the drain outlet. Adjust pipe lengths if necessary using your pipe cutter, making clean perpendicular cuts for the best seal.
- Tighten all slip joint nuts with your pipe wrench, but avoid overtightening which can crack plastic washers or strip threads. A quarter turn past hand-tight typically provides adequate pressure without damage.
Pro Tip: Hand-tighten every connection completely before using your wrench. This technique lets you feel if threads are crossing or if washers are misaligned, problems that become harder to detect once you apply wrench pressure. If a connection feels unusually difficult to tighten by hand, disassemble and check for debris or misalignment.
Common mistakes and troubleshooting tips
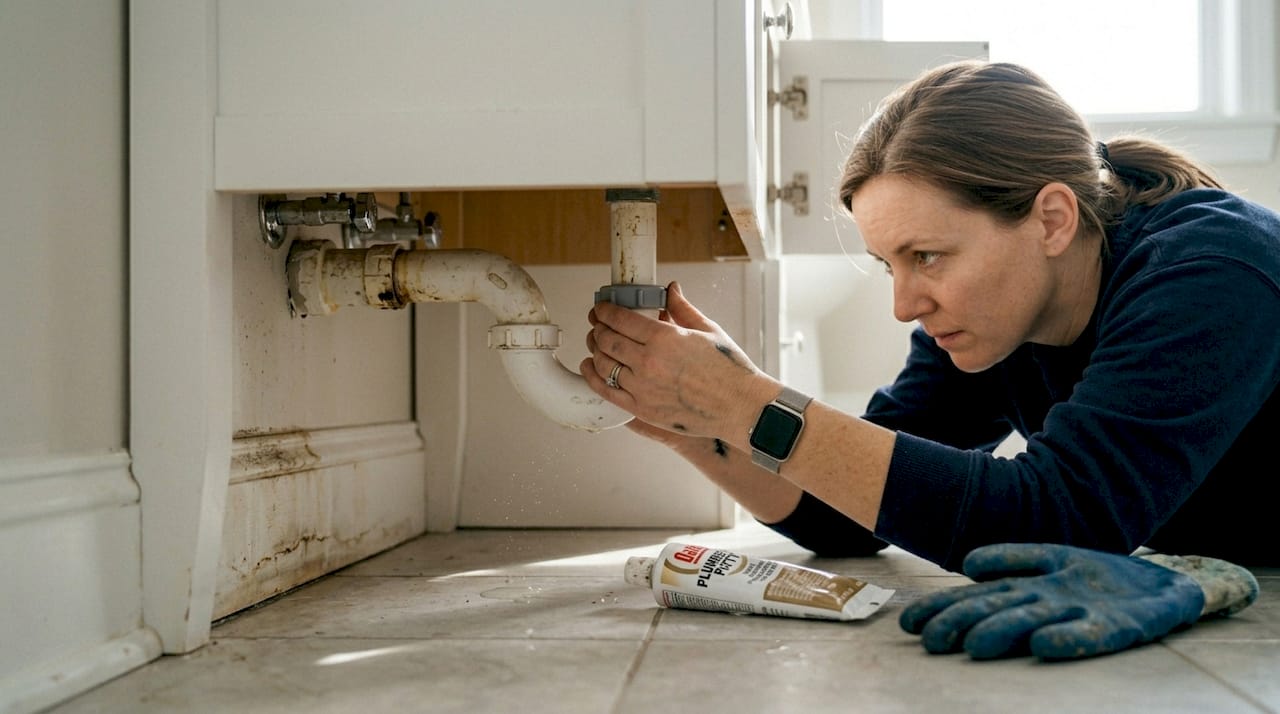
Even careful DIYers encounter challenges during drain pipe installation, but recognizing common errors helps you avoid them or fix problems quickly. Mistakes like overtightening slip joints or improper alignment cause leaks and drainage issues. The most frequent error is applying excessive force with a pipe wrench, which cracks plastic washers and creates leak paths that appear immediately or develop over time as the damaged washer degrades.
Another common mistake involves forgetting to install washers at slip joint connections or installing them backwards with the tapered side facing the wrong direction. Washers create the actual seal at these joints, so missing or reversed washers guarantee leaks regardless of how tightly you secure the nuts. Always verify each washer is present and correctly oriented before tightening connections.
Poor pipe alignment causes slow drainage and increases clog risk because water cannot flow smoothly through bends and connections. If your assembled drain pipe shows visible misalignment with pipes angling sharply or connections appearing stressed, loosen the joints and adjust component positions before final tightening. Sometimes you need to trim pipes slightly or reposition the P-trap to achieve proper alignment.
- Check that all washers are installed with tapered sides facing threaded connections
- Verify the P-trap contains water after installation to prevent sewer gas entry
- Ensure the trap arm slopes slightly downward toward the wall drain
- Look for gaps between slip joint nuts and pipe shoulders indicating missing washers
- Test hand-tightness of all connections before applying wrench pressure
“Taking time to verify washer placement and proper alignment before final tightening prevents most leak issues. If you discover a leak during testing, the problem almost always traces back to a missing washer, reversed washer, or misaligned connection rather than insufficient tightening pressure.”
When you spot a leak during your initial water test, turn off the water immediately and dry all surfaces thoroughly with a towel. This lets you pinpoint the exact leak source when you turn the water back on briefly. Most leaks appear at slip joint connections and resolve by disassembling the leaking joint, checking the washer condition and orientation, then reassembling carefully.
Testing the installation and maintenance advice
Once you’ve completed the installation and tightened all connections, thorough testing verifies your work before you consider the project finished. Turn the water supply valves back on slowly while watching for immediate leaks at connections. Run cold water through the sink at full pressure for several minutes, checking every joint from the drain basket down to the wall connection. Use a dry paper towel to wipe each connection, as even small leaks show up clearly on white paper.
Regular inspection and cleaning prevent clogs and prolong sink drain pipe life. After confirming no leaks exist, fill the sink basin completely and release the water all at once to test drainage under maximum flow conditions. The water should drain quickly without backing up or gurgling excessively. Some gurgling is normal as air displaces water in the trap, but persistent loud gurgling suggests venting issues or partial blockages.
Maintaining your newly installed drain pipes requires minimal effort but prevents major problems down the road. Avoid pouring grease or coffee grounds down the drain, as these substances accumulate inside pipes and create stubborn clogs. Run hot water through the drain for 30 seconds after each use to flush away soap residue and prevent buildup. Monthly treatments with a mixture of baking soda and vinegar followed by hot water help keep drains fresh and clear.
- Run hot water for 30 seconds after each sink use to prevent soap buildup
- Never pour cooking grease or oil down the drain
- Use drain screens to catch hair and debris before they enter pipes
- Flush drains monthly with baking soda, vinegar, and hot water
- Schedule annual inspections to catch developing issues early
Pro Tip: Mark your calendar to inspect under-sink connections every six months. Spend five minutes checking for moisture, corrosion, or loose connections during these quick inspections. Catching small leaks early prevents water damage to cabinets and floors, saving you from expensive repairs that dwarf the cost of occasional maintenance checks.
| Maintenance Method | Frequency | DIY Cost | Professional Cost |
|---|---|---|---|
| Hot water flush | After each use | $0 | Not applicable |
| Baking soda/vinegar treatment | Monthly | $2 per year | Not applicable |
| Visual inspection | Every 6 months | $0 | Not applicable |
| Professional drain cleaning | Annually | Not applicable | $150 to $300 |
| Camera inspection | Every 2-3 years | Not applicable | $200 to $400 |
Professional drain cleaning services use specialized equipment that removes buildup DIY methods cannot reach, making annual professional maintenance a worthwhile investment even when your drains appear to function normally. This preventive approach costs less than emergency repairs and extends the life of your entire plumbing system.
Professional plumbing services in San Antonio
While installing a sink drain pipe makes an excellent DIY project, some plumbing tasks require professional expertise and specialized equipment. Stultz Plumbing offers comprehensive affordable plumbing services in San Antonio for projects beyond basic drain installation, including whole-house repiping, water heater installation, and complex bathroom renovations. Our experienced technicians handle everything from simple repairs to complete kitchen plumbing remodels in San Antonio, ensuring code compliance and long-lasting results.
If you encounter persistent clogs, slow drainage despite proper installation, or need help with more extensive plumbing projects, our team provides fast, reliable service across San Antonio and surrounding communities. We also offer professional drain cleaning services in San Antonio using advanced equipment that clears stubborn blockages and prevents future problems. Contact us for transparent pricing and expert solutions tailored to your home’s specific needs.
Frequently asked questions
How long does it take to install a sink drain pipe?
Most homeowners complete a basic sink drain pipe installation in one to three hours depending on their experience level and whether they need to modify existing plumbing. Experienced DIYers familiar with plumbing connections often finish in under 90 minutes, while first-time installers should budget three hours to work carefully and avoid rushing through critical steps. Complex installations requiring pipe modifications or dealing with corroded existing components may take longer.
Can I use metal pipes instead of PVC for my sink drain?
You can use chrome-plated brass or stainless steel drain pipes, which offer a more polished appearance than white PVC and provide excellent durability. Metal pipes cost more than PVC and require more careful alignment during installation since they lack the slight flexibility of plastic. Many homeowners choose metal for visible drain pipes under pedestal sinks while using PVC for hidden installations under vanity cabinets.
What causes a properly installed drain pipe to leak later?
Leaks that develop weeks or months after installation typically result from washers that have compressed over time, connections that loosened due to vibration or thermal expansion, or degraded plumber’s putty around the drain basket. Temperature fluctuations in San Antonio can cause plastic components to expand and contract slightly, sometimes loosening connections that were initially secure. Retightening slip joint nuts often resolves these delayed leaks.
Do I need to apply Teflon tape to slip joint connections?
Slip joint connections rely on compression washers rather than threaded seals, so Teflon tape is unnecessary and potentially counterproductive at these joints. The washer creates the seal when compressed between the slip nut and pipe shoulder. Apply Teflon tape only to threaded connections where metal threads screw directly into other fittings without intervening washers, wrapping the tape clockwise around male threads two to three times.
How do I know if my drain pipe has the correct slope?
Proper drain slope allows water to flow smoothly while maintaining enough water in the P-trap to block sewer gases. The trap arm connecting your P-trap to the wall drain should slope downward toward the wall at approximately one-quarter inch per foot of horizontal run. You can verify this visually or use a small level placed on top of the trap arm, adjusting connections until you achieve a slight but noticeable downward angle toward the drain outlet.
Recommended
- Home plumbing maintenance guide for San Antonio 2026
- Guide to Clogged Toilet and Drain Cleaning | Stultz Plumbing
- Common Reasons for Clogged Drains & Fixes | Stultz Plumbing
- The Ultimate Pipe Leak Repair Guide For San Antonio
Jean runs growth strategy at AimSetWin, a performance marketing agency specializing in local service businesses across Texas. he's helped plumbers, HVAC companies, pest control operators, and home service brands build predictable revenue systems using data-driven advertising and conversion optimization.


